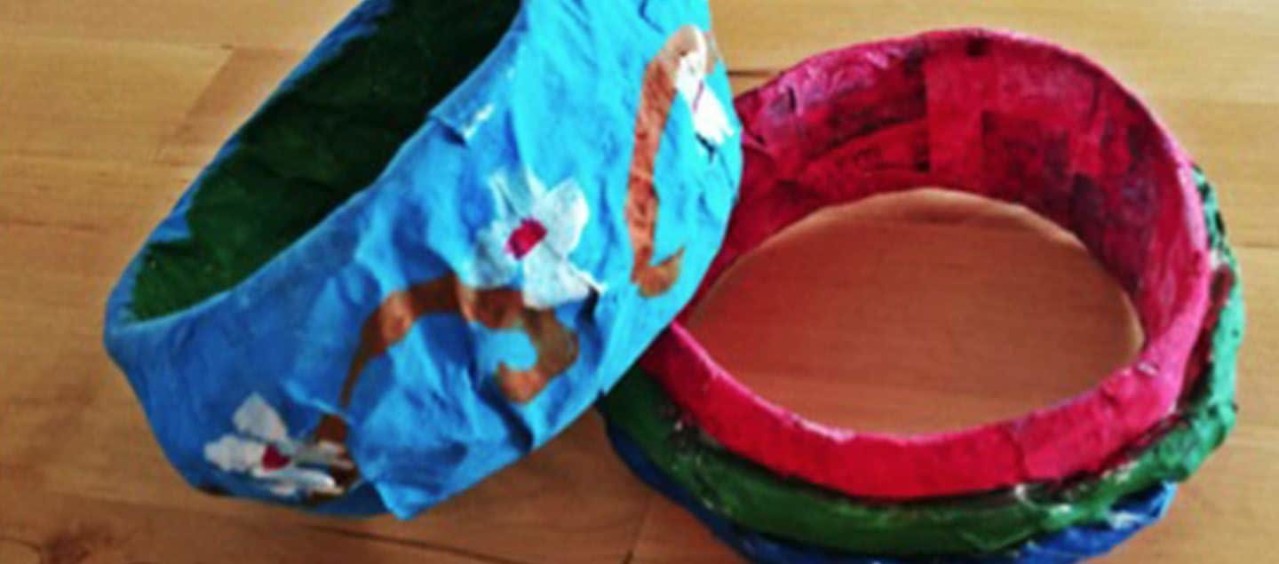
One of the most enjoyable activities for children – boys and girls alike – is construction, when they use their imagination to make models of anything that they dream up. But what if play dough and empty boxes aren’t versatile enough for your kid’s ideas? Well, that’s where paper mache (or papier-mâché) comes in!
Paper mache is a fun craft technique that your children can use to mould shapes out of torn up paper (‘mâché’ literally means ‘mashed’) and glue. Once the glue has dried, the model becomes hard and can be decorated any way your child likes!
Kids love getting stuck in with a messy craft activity, and these paper mache ideas are a great way to unleash their creativity and have a lot of fun with paint and glue.
How to Make Paper Mache
There are two main methods for making paper mache:
Creating paper pulp out of soaked and shredded paper and glue, or:
Layering strips of paper over a mould, with glue to hold everything in place.
The best projects using paper mache for kids are made with the layered technique – it is the quickest and least complicated. All you’ll need is:
Newspapers torn into strips
Some glue.
You can use watered-down white PVA glue, or even make your own from flour and water: Mix 3 parts water to one part flour. Making paper mache can be very messy, so before you start, be sure to protect all your work surfaces and clothes.
Don’t forget to check our stain removal tips to find out the best way to fight glue stains.
How to Make Paper Mache Bangles
You Will Need:
A plastic water bottle
Strips of newspaper
Glue
Paint
How to Make It:
First, an adult will need to take the bottle and carefully cut it width-ways to form rings. These will be the basic frame for your bangles.
Dip your strips of paper in the glue, making sure to get rid of any excess drips, and wrap the strip through and around a plastic ring. You can twist strips of paper together for a more textured surface to your bangle – your kids will enjoy experimenting with making patterns!
Continue winding paper around each ring until you are happy with the thickness.
Leave to dry for 24 hours and then paint or decorate them!
Optionally, use watered-down PVA glue to add a shiny finishing glaze.
Do you and your kids love making paper mache? What’s the most adventurous paper mache object you’ve made? Share your craft ideas with other parents below! And don't forget to check out our other fun paper mache activities, like our instructions for making a paper mache hot air balloon!


